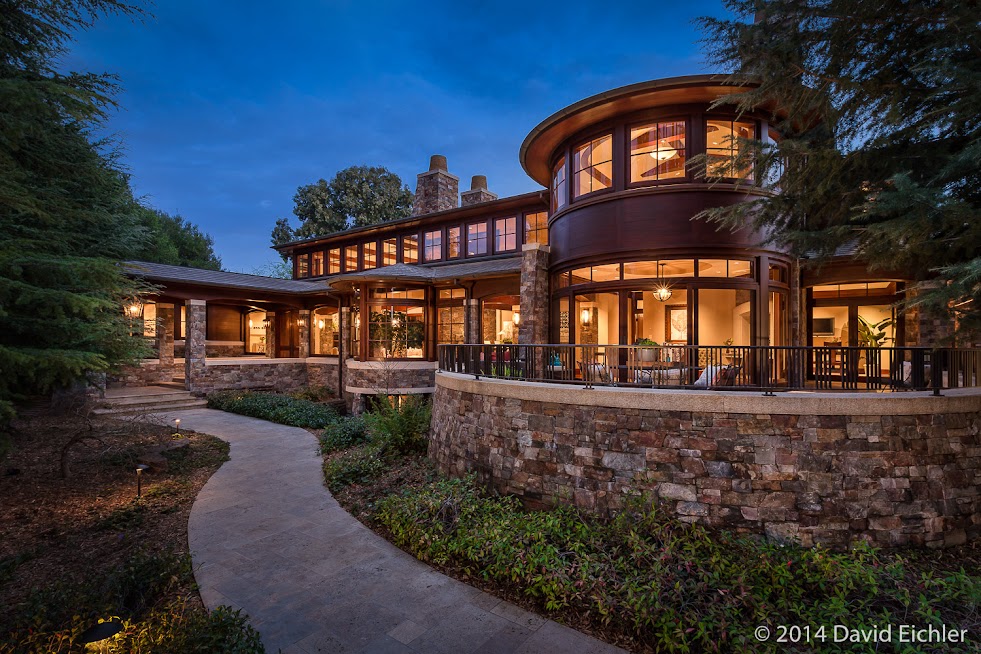
All wood interiors are one of the more challenging subjects for interior photography, especially with a bright exterior window view and direct sunlight entering the space. Interiors are usually challenging when windows are involved in the scene, because of the extreme difference in brightness between the interior and exterior, and this problem is compounded when the interior has very dark surfaces, especially when the dark surfaces are on all sides, such as in the example below.
One way to deal with the problem in some situations is to install large neutral density filters on the outside of the windows. However, this is sometimes logistical impossible or highly impractical and these are expensive and time consuming to install. In my opinion, using supplementary lighting is by far the most practical way to deal with this technical challenge. Further compounding the challenge in this example was the very wide view, which leaves no room to place lighting outside of the composition. Because of this I had to light from within the composition. Reflections of the lights on the walls meant that I had to do a variety of exposures with the lights in different positions and edit the lights out when doing the digital processing. Combining the various exposures together digitally so that the lighting blends together can be quite a complex process that requires minute attention to detail in order to avoid leaving unwanted artifacts in the final image.
For this example, I used 10 separate exposures to create the final image.
The following photos show the ambient lighting as the camera sees it, some of the lighting exposures that I used to create the final image, and the final result.
 |
| Ambient Exposure |
 |
| Ambient Exposure |
 |
| Lighting Exposure |
 |
| Lighting Exposure |
 |
| Lighting Exposure |
 |
| Final Image |


